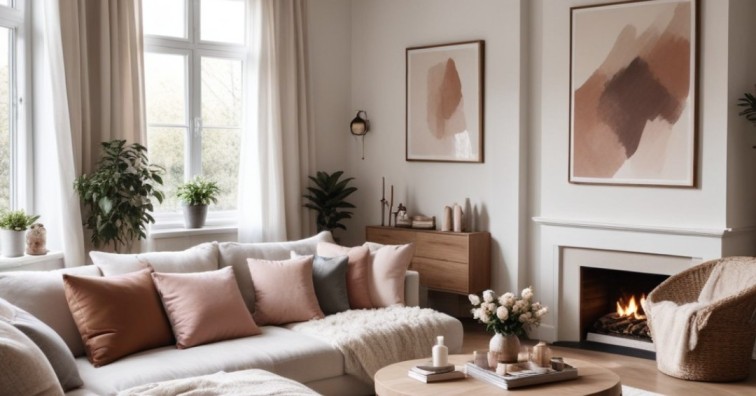
As a homeowner, you may find yourself dreaming of a stunning home makeover, but the thought of the associated costs can be overwhelming. However, with a little creativity and some do-it-yourself (DIY) projects, you can transform your home on a budget. In this article, I will share 12 stylish DIY projects that will give your home a stunning makeover without breaking the bank.
Benefits of DIY projects for a home makeover

Embarking on DIY projects for your home makeover offers numerous benefits. First and foremost, it allows you to save money. By taking on the tasks yourself, you can avoid the hefty costs associated with hiring professionals. Additionally, DIY projects give you the freedom to express your style and creativity. You have full control over the design process, ensuring that your home truly reflects your unique taste.
Moreover, DIY projects can be a rewarding and fulfilling experience. There is a sense of accomplishment that comes with completing a project with your own hands. It allows you to develop new skills and gain confidence in your abilities. Finally, DIY projects often result in custom-made pieces that are one-of-a-kind. You can create a home that is truly tailored to your preferences and stands out from the crowd.
Also Read :Transforming Your Space: Budget-Friendly DIY Home Makeovers
Tips for planning a budget-friendly home makeover
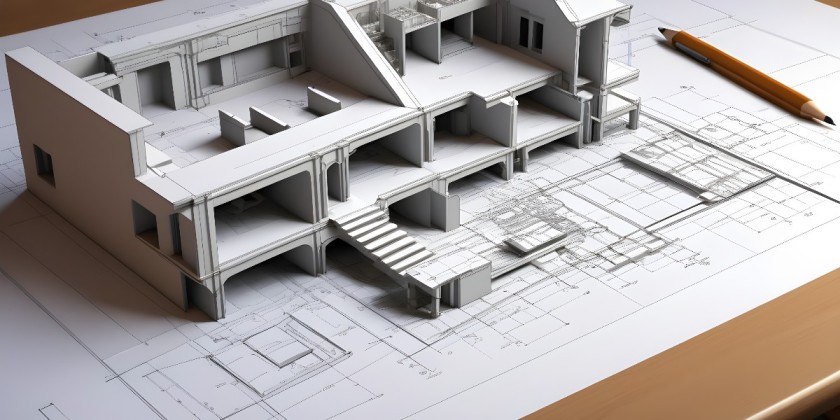
Before diving into the DIY projects, it’s important to plan your budget-friendly home makeover carefully. Start by setting a realistic budget and stick to it. Determine how much you are willing to spend on each project and allocate funds accordingly. It’s also essential to prioritize your projects based on your needs and preferences.
Next, research and gather inspiration from various sources such as home decor magazines, websites, and social media platforms. Look for DIY tutorials and ideas that align with your vision for your home. Take note of the materials and tools required for each project and create a comprehensive shopping list. By planning ahead, you can avoid impulse purchases and unnecessary expenses.
Lastly, don’t be afraid to repurpose or upcycle items you already have. Look around your home and see if there are any furniture pieces or decor items that can be transformed with a fresh coat of paint or some creative adjustments. Not only will this save you money, but it will also add a unique touch to your home.
DIY project #1: Creating a statement wall with paint or wallpaper
One of the easiest and most impactful DIY projects for a home makeover is creating a statement wall. Whether you choose to use paint or wallpaper, a statement wall can instantly transform any room. Start by selecting a bold color or a trendy wallpaper pattern that complements your existing decor. Measure the wall and gather the necessary supplies.
If you opt for painting, ensure that you have primer, paint, brushes, and rollers. Prep the wall by cleaning it and applying a coat of primer. Once the primer is dry, start painting with even strokes, working from top to bottom. For wallpaper, make sure you have adhesive, a smoothing tool, and a sharp knife. Measure and cut the wallpaper according to the wall’s dimensions, apply the adhesive, and carefully stick the wallpaper, smoothing out any air bubbles.
A statement wall adds personality and visual interest to your space without breaking the bank. It serves as a focal point and can be easily changed if you decide to switch up your decor in the future.
Also Read:14 Stylish Anime Bedroom Decor Ideas
DIY project #2: Upcycling old furniture for a fresh look
Instead of purchasing new furniture, consider upcycling old pieces to give them a fresh look. Not only is this budget-friendly, but it also adds character and uniqueness to your home. Look for furniture pieces that have good bones and are in need of a little TLC.
Start by thoroughly cleaning the furniture and assessing any repairs that need to be made. Sand the surface to remove any existing finish or paint. Apply a fresh coat of paint or stain that aligns with your desired aesthetic. You can also get creative by adding new hardware, such as unique knobs or handles, to enhance the overall look.
With a little time and effort, you can breathe new life into old furniture and create statement pieces that are sure to impress.
Also Read: Simple Gate Design For Small House
DIY project #3: Adding a backsplash to your kitchen or bathroom
A backsplash is a great way to add style and functionality to your kitchen or bathroom. It not only protects the walls from water damage but also serves as a design element that can elevate the overall look of the space. Adding a backsplash can be a DIY project that is both affordable and rewarding.
Start by selecting a material that suits your taste and budget. Popular options include ceramic tiles, subway tiles, or peel-and-stick backsplash sheets. Measure the area where you want to install the backsplash and gather the necessary tools, such as adhesive, grout, and a trowel.
Before installing the backsplash, ensure that the wall is clean and free from any debris. Apply the adhesive or peel-and-stick sheets, following the manufacturer’s instructions. If using tiles, apply the adhesive and carefully place each tile, leaving space for grouting. Once the adhesive is dry, apply the grout, wiping away any excess with a damp sponge.
A backsplash adds a touch of elegance and functionality to your kitchen or bathroom, instantly transforming the space into a stylish oasis.
DIY project #4: Installing floating shelves for extra storage and style
Floating shelves are a versatile and trendy addition to any room. They not only provide additional storage space but also serve as a stylish display for your favorite decor items. Installing floating shelves is a budget-friendly and relatively simple DIY project that can instantly elevate the look of your home.
Start by measuring and marking the desired location for the shelves. Use a level to ensure that the shelves will be straight. Gather the necessary tools, such as a drill, screws, and wall anchors. If you prefer a seamless look, consider using floating shelf brackets that are hidden from view.
Carefully drill the holes and attach the brackets or hardware to the wall. Once the brackets are securely in place, slide the shelves onto the brackets and ensure that they are level. You can choose to paint or stain the shelves to match your existing decor.
Floating shelves not only provide practical storage solutions but also allow you to showcase your personality and style through curated displays of books, plants, and decorative objects.
DIY project #5: Creating a personalized gallery wall
A gallery wall is a perfect way to infuse your personality and memories into your home decor. It adds visual interest and fills in as a point of convergence in any room. Creating a personalized gallery wall is an easy and cost-effective DIY project that allows you to showcase your favorite photos, artwork, and mementos.
Start by selecting a variety of frames that complement your decor and personal style. Gather your chosen photos, artwork, and other items that you want to display. Lay the frames and items on the floor to determine the layout before hanging them on the wall.
Using a level, mark the desired positions for the frames on the wall. Install wall hooks or nails in the marked spots and hang the frames accordingly. Consider adding a mix of different frame sizes, orientations, and styles for a visually dynamic effect.
A personalized gallery wall not only adds charm and character to your home but also tells the story of your life and experiences.
DIY project #6: Updating light fixtures for a modern touch
Light fixtures have the power to completely transform the ambiance and style of a room. Upgrading outdated light fixtures is a simple and budget-friendly DIY project that can instantly modernize your home.
Start by identifying the light fixtures that need an update. Whether it’s a chandelier, pendant lights, or sconces, there are numerous options available to suit your taste and budget. Research different styles and designs that align with your desired aesthetic.
Before replacing the light fixtures, make sure to turn off the power at the circuit breaker. Remove the old fixtures carefully and follow the manufacturer’s instructions to install the new ones. Ensure that the wiring is secure and the fixtures are properly aligned.
Updating light fixtures not only enhances the overall look of your home but also improves the functionality and lighting quality of each room.
DIY project #7: Adding a pop of color with accent pillows and throws
If you’re looking to add a pop of color and style to your home without undertaking major renovations, accent pillows and throws are your best friends. They are an affordable and versatile way to update your decor and create a cozy and inviting atmosphere.
Start by selecting pillows and throws that complement your existing color scheme and decor. Opt for vibrant colors, bold patterns, or textured fabrics to make a statement. Blend and match various sizes and shapes to make visual interest.
Drape the throws on sofas, chairs, or beds for an added layer of coziness. Arrange the pillows in a way that complements the furniture and brings the room together. Feel free to experiment with different combinations and arrangements until you find the perfect balance.
Accent pillows and throws allow you to easily switch up your decor with changing seasons or trends, ensuring that your home always feels fresh and inviting.
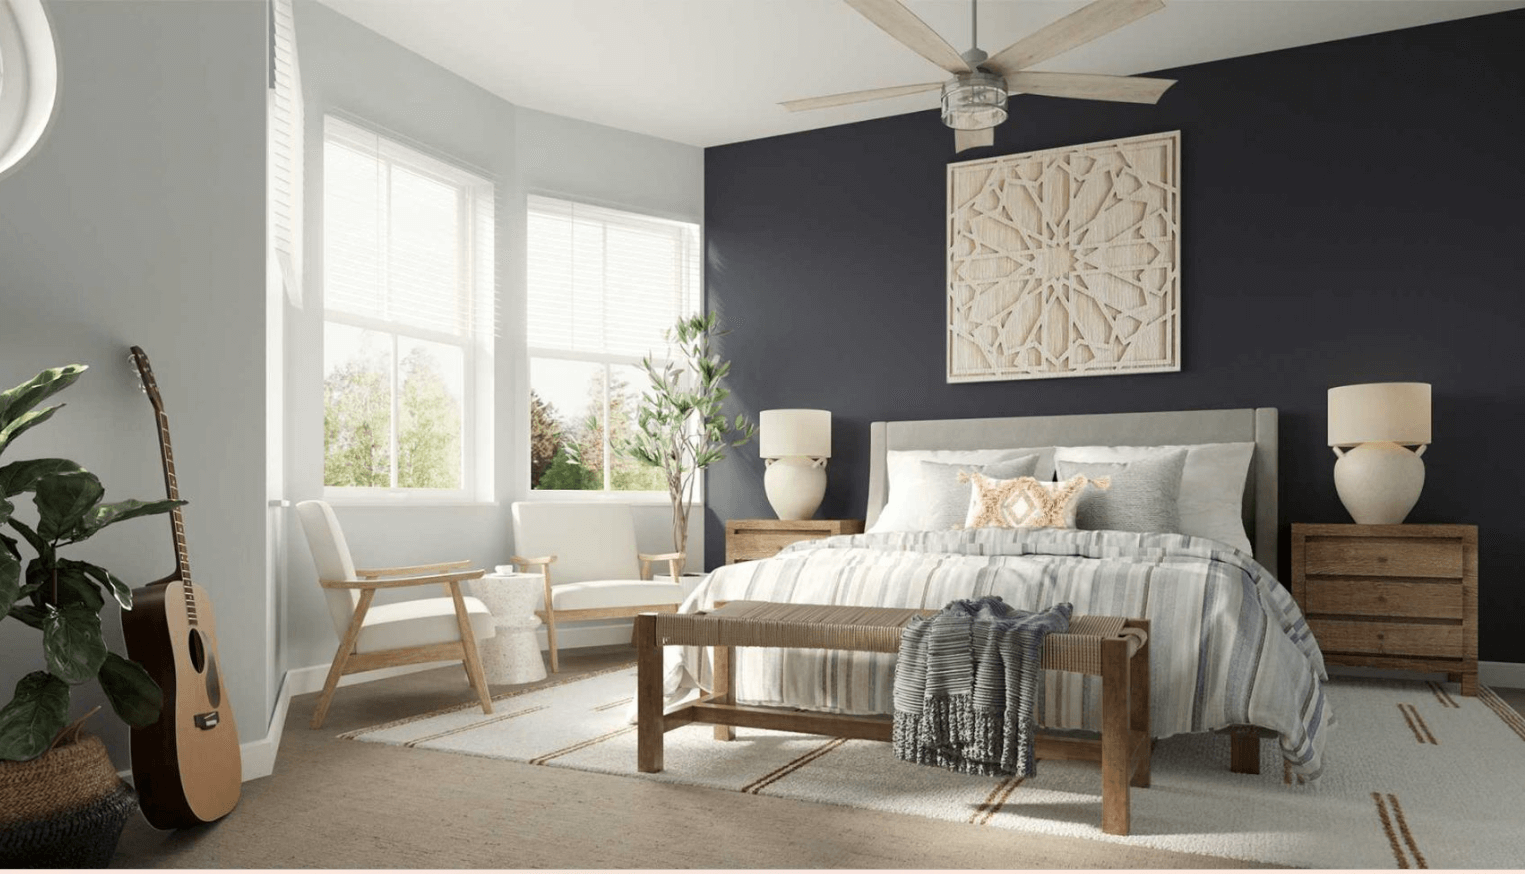
DIY project #8: Building a DIY headboard for a stylish bedroom
A headboard is a focal point in any bedroom and can instantly elevate the overall look and feel of the space. Building a DIY headboard is a budget-friendly and rewarding project that allows you to customize your bedroom to suit your personal style.
Start by determining the size and design of the headboard that fits your bed and complements your decor. Gather the necessary materials, such as plywood, foam padding, fabric, and a staple gun. Measure and cut the plywood to the desired size and shape. Attach the foam padding to the plywood using adhesive spray. Stretch the fabric over the foam and plywood, stapling it securely to the back.
Once the headboard is complete, attach it to the wall or directly to the bed frame. Add additional elements, such as tufting, buttons, or decorative trim, to enhance the overall look.
A DIY headboard not only adds a touch of luxury to your bedroom but also allows you to create a space that is uniquely yours.
DIY project #9: Creating a cozy reading nook
A cozy reading nook is a perfect addition to any home, providing a peaceful retreat to curl up with a good book. Creating a reading nook is a budget-friendly DIY project that can transform an underutilized corner into a cozy oasis.
Start by identifying an area in your home that can be transformed into a reading nook. It can be a window alcove, an unused corner, or even a small section of a room. Measure the space and gather cozy elements such as a comfortable chair or chaise lounge, soft cushions, and a warm blanket.
Arrange the furniture and decor in a way that encourages relaxation and comfort. Consider adding a small side table or bookshelf to hold your favorite books and reading accessories. Enhance the ambiance with soft lighting, such as a floor lamp or string lights.
Creating a dedicated reading nook allows you to escape the daily hustle and bustle and indulge in your favorite books in a serene and cozy environment.
DIY project #10: Making your own curtains or window treatments
Curtains or window treatments play a crucial role in enhancing the aesthetic appeal and functionality of your home. Making your own curtains is a budget-friendly DIY project that allows you to choose the fabric, style, and length that perfectly suits your space.
Start by measuring the windows and determining the desired length and fullness of the curtains. Select a fabric that complements your decor and allows the right amount of light to enter the room. Purchase the necessary fabric, lining (if desired), and curtain hardware.
Cut the fabric to the desired length, leaving extra for hems and seams. Sew the hems and seams using a sewing machine or hand stitching. Attach the curtain hardware, such as rods or tracks, following the manufacturer’s instructions. Hang the curtains and adjust the length or fullness as needed.
By making your own curtains, you can add a personalized touch to your home while maintaining control over the cost and quality of the final product.
DIY project #11: Installing a DIY home security system
Ensuring the safety and security of your home is of utmost importance. Installing a DIY home security system is a cost-effective way to protect your property and loved ones. With advancements in technology, setting up a home security system has become easier and more affordable than ever.
Start by researching different DIY home security systems and selecting one that suits your needs and budget. Popular options include wireless security cameras, motion sensors, and smart locks. Follow the manufacturer’s instructions to install and set up the system.
Consider placing security cameras at strategic locations around your home, such as entry points and high-traffic areas. Install motion sensors near windows and doors to detect any unauthorized access. Smart locks allow you to control and monitor your home’s security remotely.
A DIY home security system provides peace of mind and ensures that your home is protected, even when you’re away.
DIY project #12: Adding a touch of nature with indoor plants
Bringing the outdoors in is a popular trend in home decor, and adding indoor plants is a simple and affordable way to achieve it. Indoor plants add a bit of nature as well as further develop air quality and make a quieting air.
Start by selecting indoor plants that thrive in your home’s lighting conditions and are easy to care for. Popular options include succulents, snake plants, and pothos. Choose a variety of sizes and shapes to create visual interest.
Consider the placement of the plants in your home. They can be placed on windowsills, shelves, or even suspended from the ceiling. Guarantee that the plants get sufficient daylight and water them as indicated by their particular requirements.
Indoor plants add a fresh and vibrant element to your home decor, instantly making the space feel more inviting and alive.
Conclusion:
Enjoy your stunning home makeover on a budget!
Transforming your home on a budget is not only possible but also an exciting and rewarding endeavor. By taking on these 12 stylish DIY projects, you can give your home a stunning makeover without breaking the bank. From creating a statement wall to adding a touch of nature with indoor plants, each project allows you to express your personal style and creativity while staying within your budget.
Remember to plan your budget-friendly home makeover carefully and prioritize your projects based on your needs and preferences. Embrace the benefits of DIY projects, such as saving money, developing new skills, and creating one-of-a-kind pieces. Enjoy the process and take pride in the stunning home makeover you have achieved on a budget!