Introduction to Crafting at Home
As someone who loves to get creative and express myself through art, I have always found crafting to be a therapeutic and fulfilling activity. In today’s fast-paced world, finding time to unwind and engage in a creative outlet can be challenging. That’s why I believe crafting at home is the perfect solution. Not only does it allow you to relax and destress, but it also allows you to create beautiful and unique pieces that reflect your style.
Crafting at home offers a multitude of benefits that extend beyond the joy of creating something with your own hands. Right off the bat, it gives a feeling of achievement and pride. Completing a DIY project gives you a tangible result that you can be proud of and show off to others. Moreover, crafting stimulates your brain and enhances your problem-solving skills. It encourages you to think outside the box and find creative solutions to challenges that may arise during the crafting process.
Additionally, crafting at home is a fantastic way to bond with family and friends. Involving your loved ones in a crafting project allows you to spend quality time together, creating cherished memories and fostering a sense of togetherness. Lastly, crafting can also be a sustainable and eco-friendly practice. By upcycling materials and repurposing items, you reduce waste and contribute to a greener planet.
Materials Needed for Crafting at Home
Before diving into the world of DIY crafts, it’s essential to gather the necessary materials. The great thing about crafting at home is that you may already have some of the supplies you need. Basic materials that are commonly used in various crafts include scissors, glue, paper, paint, brushes, fabric, yarn, and beads. It’s a good idea to have a designated space in your home where you can store your crafting supplies, ensuring they are easily accessible whenever inspiration strikes.
Also Read:Crafting on a Budget: 7 Budget-Friendly DIY Projects for Fun and Savings
Easy Crafts to Do at Home – 7 Simple and Fun Ideas
1. Handmade Greeting Cards 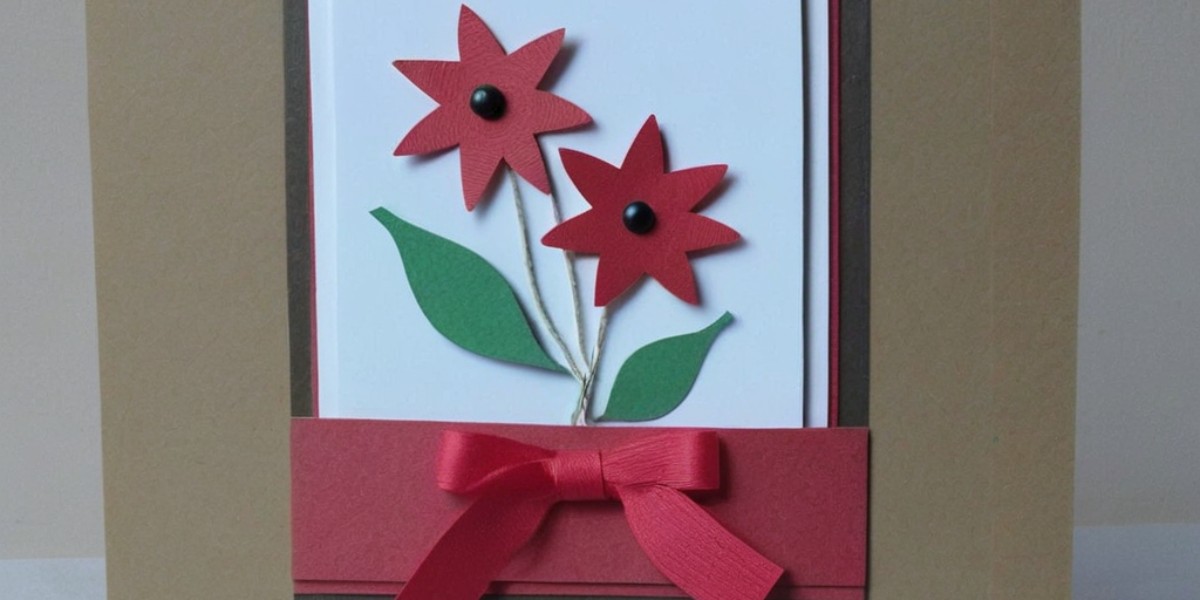
Get creative and express your emotions by making personalized greeting cards for friends and family. Use colorful paper, stickers, ribbons, and markers to design unique cards for birthdays, anniversaries, or any special occasion.
2. DIY Terrarium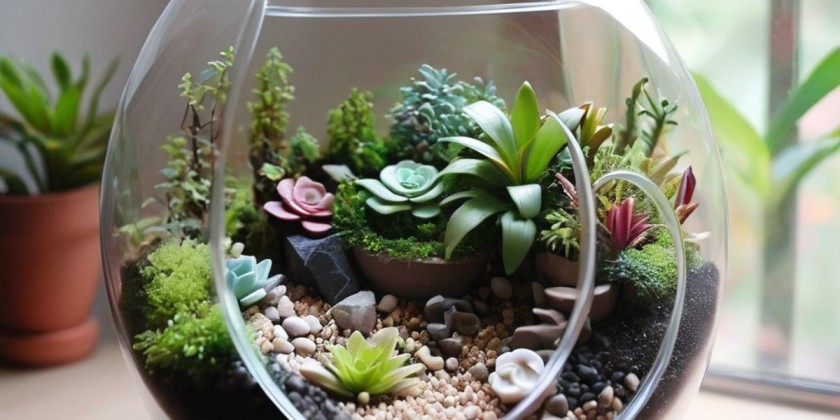
Bring the beauty of nature indoors by creating your own terrarium. Fill a glass container with layers of rocks, soil, and small plants. Decorate it with miniature figurines or fairy lights for a whimsical touch.
3. Fabric Scrap Keychains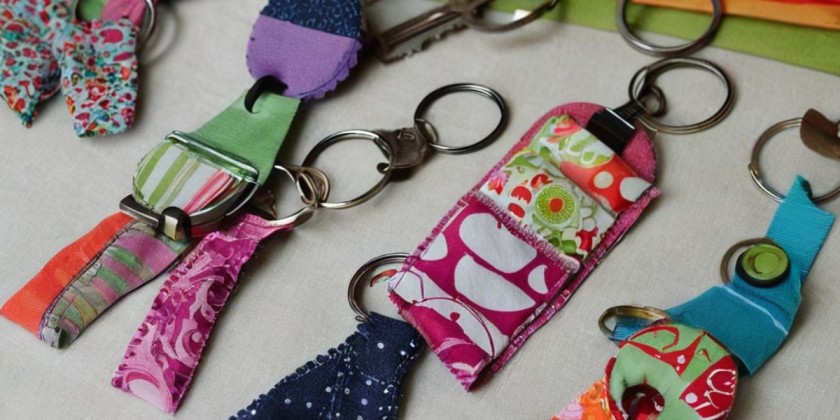
If you have leftover fabric scraps, don’t let them go to waste. Cut them into small shapes and sew them together to create adorable keychains. Attach a keyring, and you have a stylish accessory for your keys or bags.
4. Painted Flower Pots 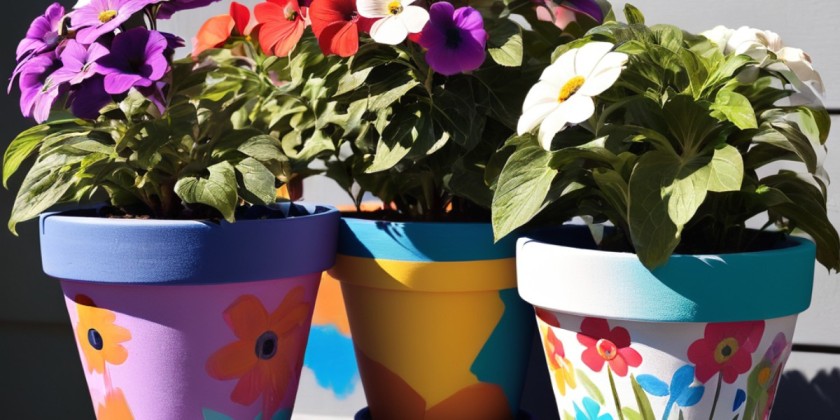
Transform plain flower pots into vibrant works of art. Use acrylic paint to decorate the pots with your favorite patterns, colors, or even quotes. Plant some beautiful flowers or herbs in them to complete the look.
5. Macrame Plant Hangers 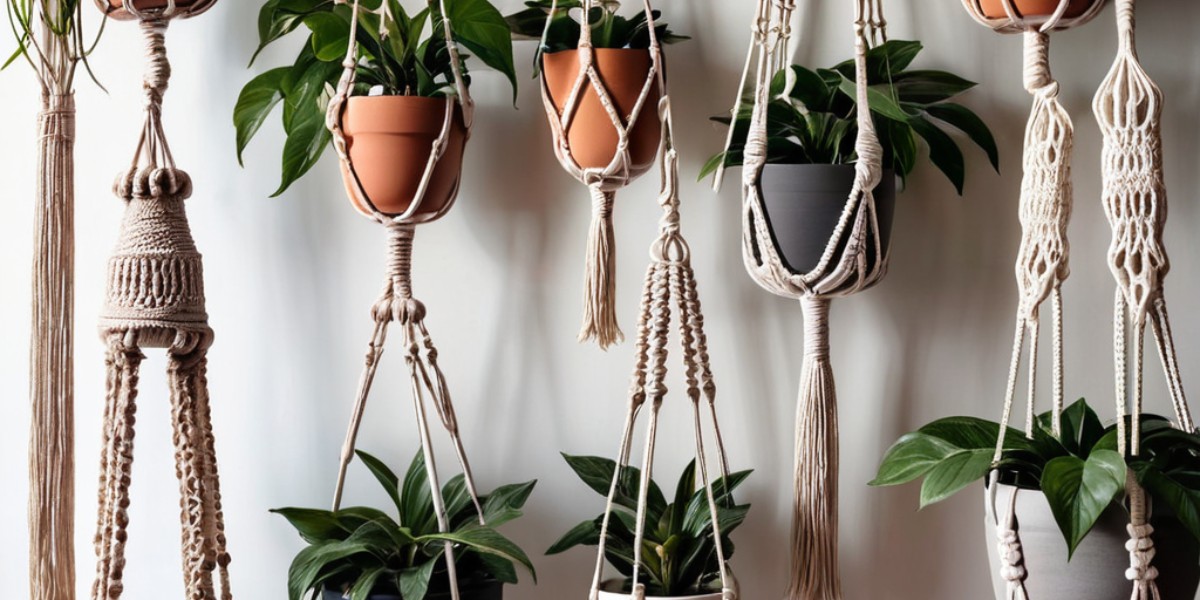
Add a bohemian vibe to your home by making macrame plant hangers. Learn a few basic macrame knots and create stunning holders for your potted plants. Hang them near windows or on your porch for a touch of greenery.
Also Read:Crafty Corner: Ideas and Inspiration for Your Creative Projects
6. Upcycled Bookmarks 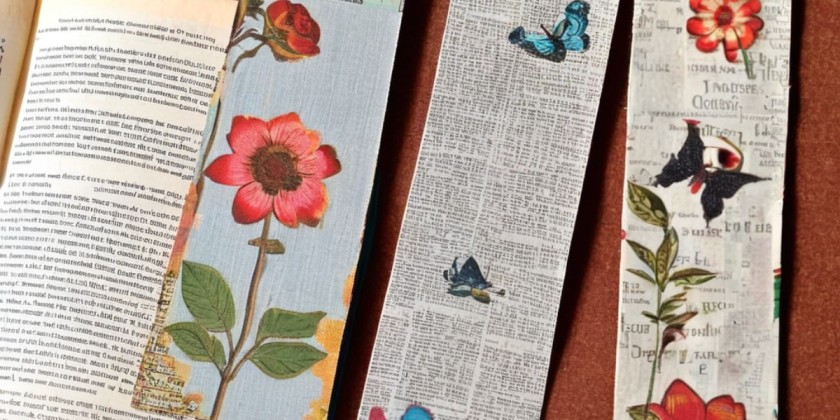
If you have old books lying around, repurpose their pages into unique bookmarks. Cut out interesting quotes, illustrations, or patterns and laminate them for durability. These personalized bookmarks make great gifts too.
7. DIY Candles 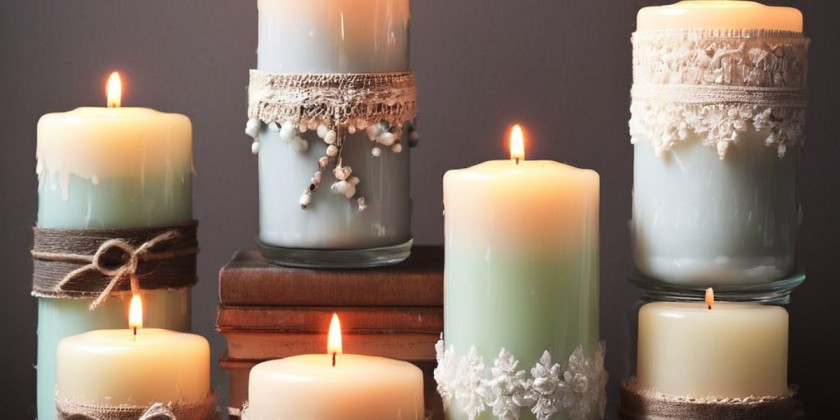
Create a cozy atmosphere in your home by making your own candles. Melt wax, add your preferred fragrance, and pour it into decorative containers. Customize the candles with dried flowers, herbs, or essential oils for a personal touch.
Step-by-Step Instructions for Each Craft Idea
Handmade Greeting Cards
1. Gather all the necessary materials – colorful paper, scissors, glue, stickers, ribbons, and markers.
2. Fold a piece of cardstock in half to create the base of your card.
3. Cut out shapes or designs from different colored paper and glue them onto the card.
4. Add stickers, ribbons, or any other decorations you desire.
5. Use markers to write a personalized message inside the card.
6. Your handmade greeting card is now ready to be given to someone special.
DIY Terrarium
Select a glass container of your choice.
1. Layer the bottom with small rocks or pebbles for drainage.
2. Add a layer of activated charcoal to keep the terrarium fresh.
3. Add a layer of gardening soil on top of the charcoal.
4. Carefully place small plants or succulents into the soil.
5. Decorate the terrarium with miniature figurines or fairy lights.
6. Water the plants lightly and place the terrarium in a well-lit area, avoiding direct sunlight.
Fabric Scrap Keychains
1. Gather fabric scraps and cut them into desired shapes.
2. Sew the fabric pieces together using a needle and thread.
3. Attach a keyring to the fabric shapes using a small metal ring or jump ring.
4. Trim any excess thread and ensure the keyring is securely attached.
5. Your unique fabric scrap keychain is now ready to be used.
Painted Flower Pots
1. Start with clean and dry clay or ceramic flower pots.
2. Use acrylic paint and brushes to paint your desired design on the pot.
3. Let the paint dry completely before adding additional layers or details.
4. Once the paint is dry, seal the pot with a clear varnish for protection.
5. Plant your favorite flowers or herbs in the painted pot and enjoy the vibrant display.
Macrame Plant Hangers
1. Cut a long piece of macrame cord or rope.
2. Fold the cord in half and create a loop at the top for hanging.
3. Use various knots, such as the square knot or the half-hitch knot, to create the macrame pattern.
4. Continue knotting until you reach the desired length for your plant hanger.
5. Once the knots are complete, place a plant pot inside the hanger and adjust it accordingly.
6. Hang the macrame plant hanger in your desired location and enjoy the bohemian touch it adds to your space.
Upcycled Bookmarks
1. Select interesting pages from old books or magazines.
2. Cut out rectangular shapes from the chosen pages.
3. Laminate the bookmarks for durability, using a laminating machine or self-adhesive laminate sheets.
4. Trim any excess laminate and round the corners of the bookmarks if desired.
5. Your upcycled bookmarks are now ready to be used or gifted.
DIY Candles
1. Gather wax, a double boiler or a heat-resistant container, fragrance oil, candle wicks, and a thermometer.
2. Melt the wax in the double boiler or heat-resistant container, following the manufacturer’s instructions.
3. Add your preferred fragrance oil to the melted wax and stir gently.
4. Place the candle wick in a container and secure it in place using a wick holder or pencil.
5. Pour the melted wax into the container, ensuring the wick stays centered.
6. If desired, add dried flowers, herbs, or essential oils for additional decoration and fragrance.
7. Allow the candle to cool and solidify completely before trimming the wick and lighting it.
Tips and Tricks for Successful Crafting at Home
. Start with simple projects:
When beginning your crafting journey, start with simple projects that don’t require advanced skills or complex techniques. This will help build your confidence and motivation to explore more challenging crafts in the future.
Personalize your crafts:
Add a personal touch to your crafts by incorporating elements that reflect your style and personality. Whether it’s using favorite colors, patterns, or themes, infusing your crafts with your unique touch will make them truly special.
Be patient and embrace mistakes:
Crafting is a learning process, and it’s natural to make mistakes along the way. Embrace these slip-ups as any open doors for development and improvement.Remember, the imperfections in your crafts often add character and charm.
Stay organized:
Keep your crafting supplies organized and easily accessible. This will save you time and frustration when starting a new project. Consider using storage containers, shelves, or a dedicated craft room to keep your materials tidy.
Take breaks and enjoy the process:
Crafting should be an enjoyable and relaxing activity. Remember to take breaks when needed, stretch your muscles, and give yourself time to appreciate the progress you’re making. Don’t rush through the process; savor every step.
Thanksgiving Craft Idea – Creating a Festive Centerpiece
As Thanksgiving approaches, it’s the perfect time to create a festive centerpiece that will add warmth and beauty to your holiday table. This craft idea combines natural elements with a touch of creativity, making it a wonderful DIY project for the Thanksgiving season.
Materials Needed for the Thanksgiving Craft Idea
Medium-sized pumpkin
Fall foliage (such as colorful leaves, branches, or berries)
Small gourds or mini pumpkins
Floral foam or oasis
Decorative ribbon or twine
Scissors
Hot glue gun
Step-by-Step Instructions for Creating the Thanksgiving Centerpiece
1. Start by selecting a medium-sized pumpkin that will serve as the base for your centerpiece.
2. Cut off the top of the pumpkin and scoop out the seeds and pulp.
3. Place a piece of floral foam or oasis inside the pumpkin to hold the foliage in place.
4. Gather fall foliage, such as colorful leaves, branches, or berries, and trim them to your desired length.
5. Arrange the foliage in the floral foam, creating a lush and visually pleasing display.
6. Add small gourds or mini pumpkins to the arrangement, using hot glue if necessary.
7. Tie a decorative ribbon or twine around the pumpkin to enhance the overall look.
8. Place the centerpiece on your Thanksgiving table and enjoy the festive atmosphere it creates.
Conclusion and Encouragement to Try Out These DIY Ideas
Crafting at home is a fantastic way to unleash your creativity, relax, and create beautiful pieces that bring joy to your life. With these seven simple and fun DIY ideas, you have a wide range of crafts to choose from, whether you’re a beginner or an experienced crafter. Remember to gather the necessary materials, follow the step-by-step instructions, and embrace your own unique style.
So why not put away some time, assemble your making supplies, and set out on an inventive excursion? Whether you’re making handmade greeting cards, creating a whimsical terrarium, or designing your own candles, the satisfaction and sense of accomplishment you’ll experience ar


